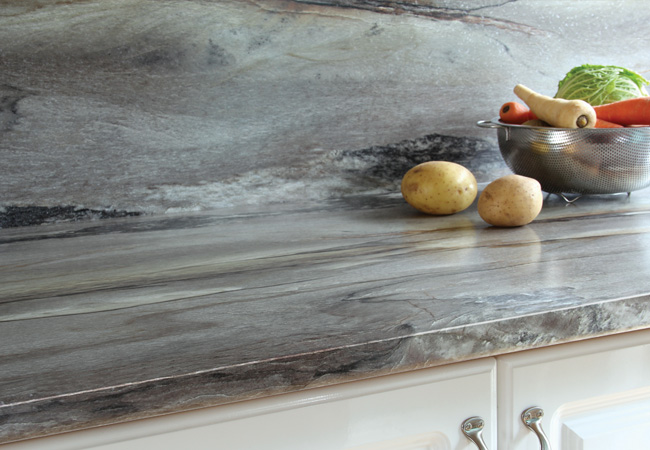
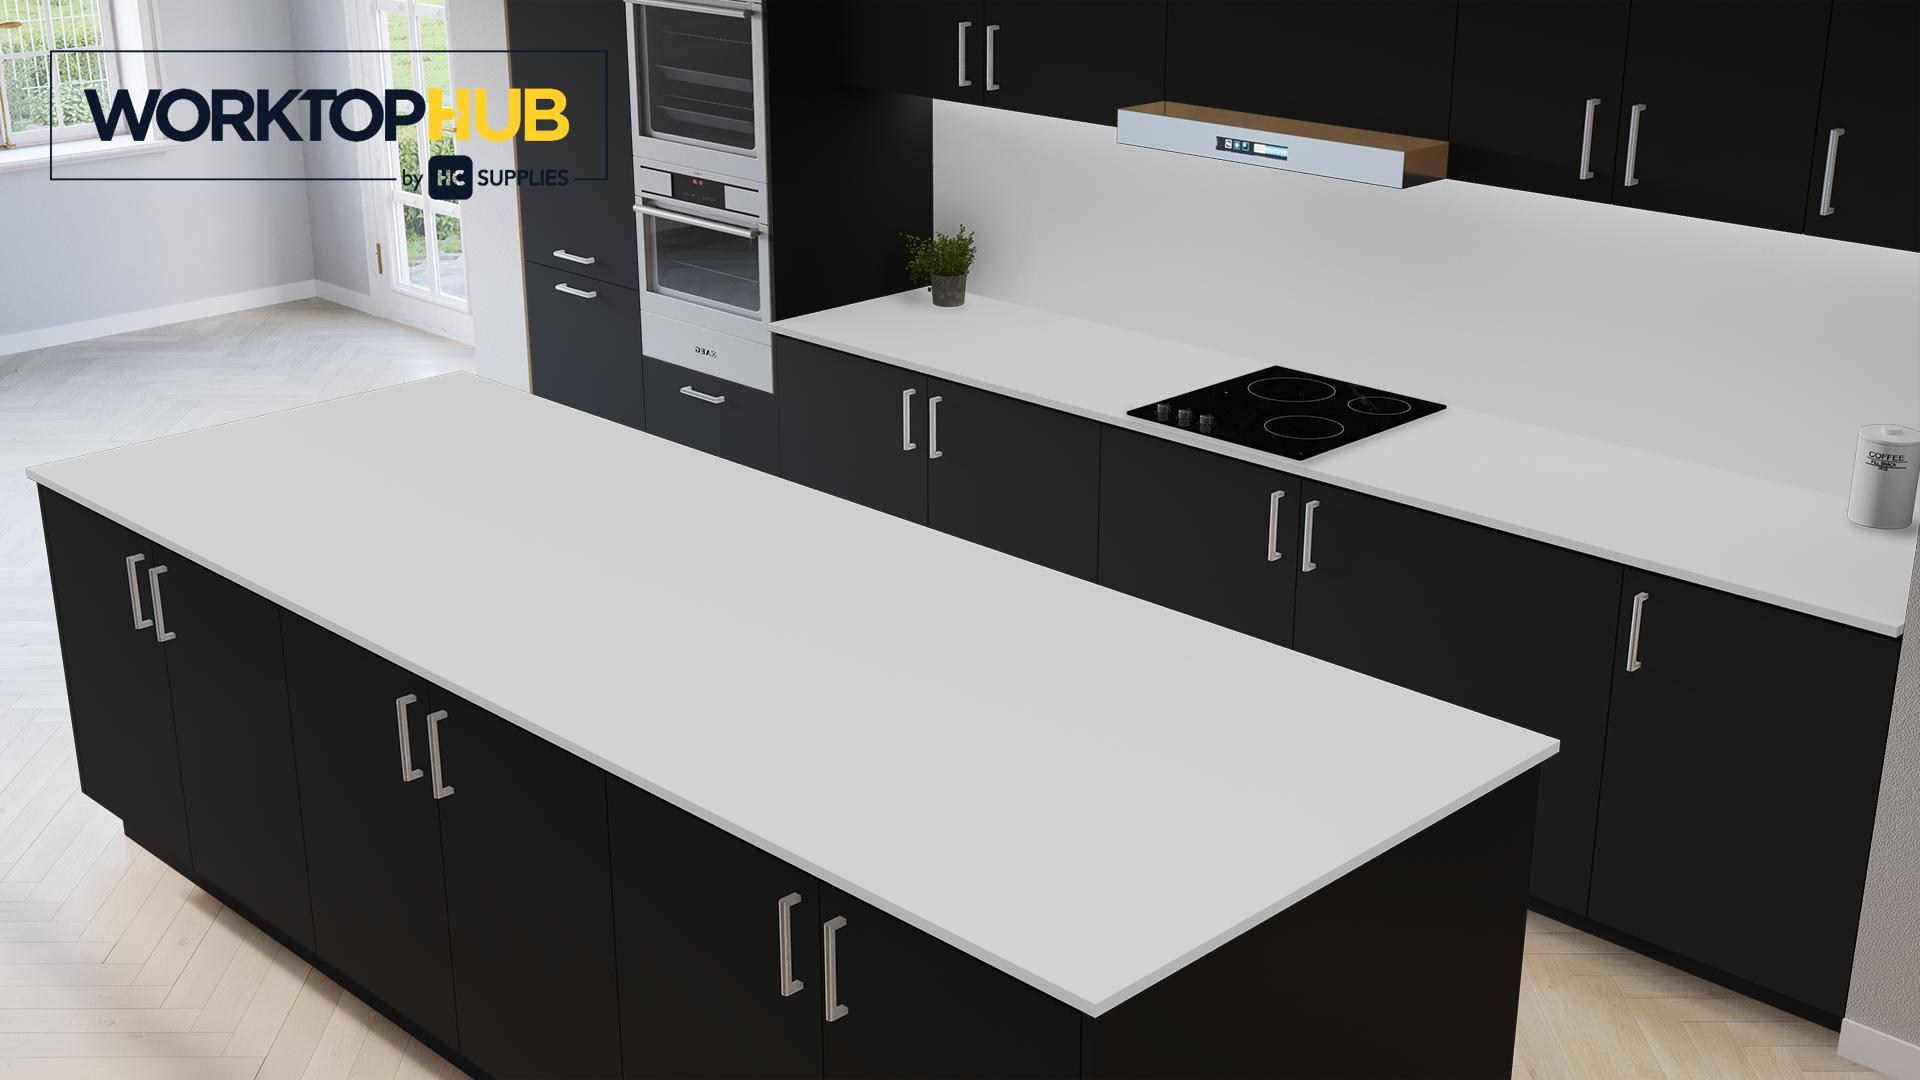
Fitting kitchen worktops that look good will update the feel of any food preparation area, even if you don’t choose to change your cabinets at the same time.
Removing an old worktop surface is relatively simple, given a few appropriate tools, and installing a new one can be done with a little know how and experience of woodwork.
Whether you are updating your kitchen with new work surfaces only, or at the stage of fitting a kitchen worktop to a newly installed room layout, the same principles are involved.
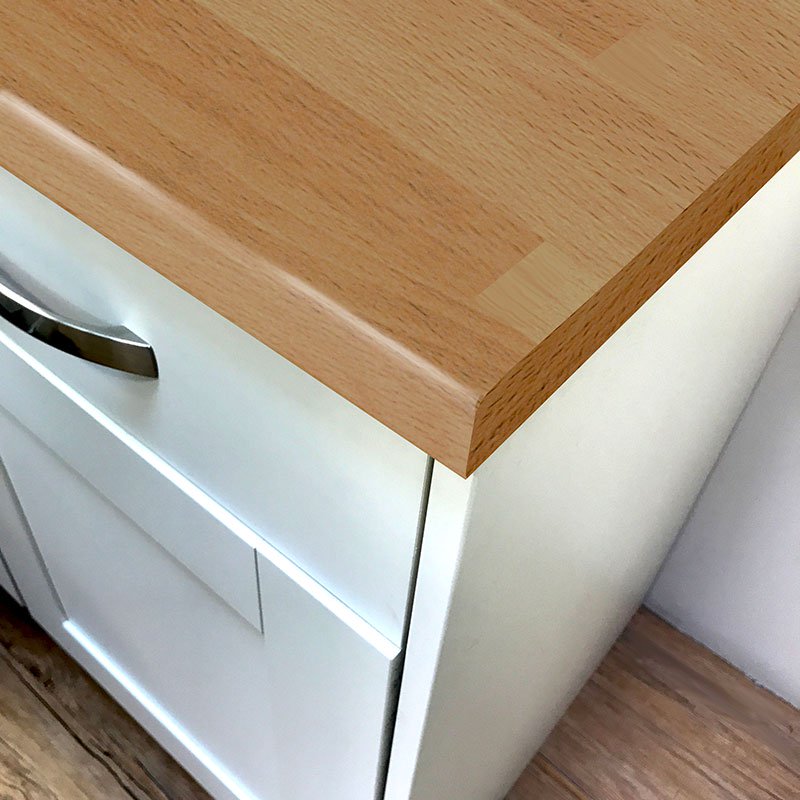
Laminate worktops tend to be the simplest to fit for newcomers to kitchen installation since these can be cut exactly to size and deal well with any awkward spaces or corners.
Before starting with the new work surfaces, however, take the time to make sure that everything is level.
Use a spirit level to make sure that the cabinets that your worktops will sit on are straight and that nothing is jutting up which will make your new worktop wobble or sit poorly.
Step One – Take Measurements
Before you purchase your new worktops, it is essential that you have an accurate idea of how much you might need.
Where your kitchen cabinets do not extend right up to the wall of the room, you will want your worktop to overhang the edge of them.
Allow for between 10 and 20 mm of overhang when sizing the amount you will need, but you can reduce this degree of overhang when actually fitting a worktop, if wanted.
Step Two – Scribe Your Worktop
Place a work surface onto the cabinets it will be fitted to and push it up against the wall.
Unless your kitchen’s walls are exceptionally regular, the wall that the worktop will sit against will be slightly uneven, giving you the job of filling any gaps. This process is known as scribing and all you need to do is to trim the back edge of the work surface to the wall’s shape.
With the worktop in the best position you can get it, make sure that the overhang you have at the front of the kitchen cabinets is the same at either side, but is a bit more than you will need.
Now use a tape measure to figure out the biggest gap that remains between the rear of the work surface and the wall. Then saw off a small block of wood to this dimension.
Next, place a length of masking tape that runs entirely down the back edge of the worktop you are scribing.
Mark out a line which will guide you when you cut the back of the work surface. To do this, use a pencil placed up against the side of your block of wood. Draw your line from one side of the tape to the other with the wood block remaining in contact with the wall all the way.
By using this method, your line should exactly match the undulations of your wall, giving you the ideal shape to trim off using a jigsaw. Alternatively, a sander can be used for removing any small sections from the back of the worktop, if wanted.
Step Three – Cut Your Worktop to Length
With the front to back dimensions of your worktop now determined by scribing, it is time to cut your worktop so that its left-right length is correct, too.
When fitting a kitchen worktop, you will want to avoid damaging it as you cut it to length.
In order to saw a straight line through the worktop without damaging the laminate at the surface, mark a line in pencil using a ruler. Now shield the pencil line with masking tape such that you can still see it.
Score a line using a craft knife along your pencil mark, ideally with a metal ruler to help guide you. The groove will make it much easier to saw off the unwanted section of worktop without cracking the laminate. A jigsaw is the ideal tool for this job.
Avoid sawing the worktop over your cabinets, which might damage them. If the side of the worktop requires it, avoid any unsightly edges by cutting a laminate strip and gluing it place.
This is ideal for worktops with an overhang at the side, but is not necessary to do if the side of the worktop will sit up against a wall or a kitchen appliance, where it won’t be on view.
Step Four – Fix Your Worktop to the Sub-Structure
Fitting kitchen worktops accurately is not just a matter of cutting them to size well. They need to be attached to the cabinets beneath them properly, too.
When you connect your worktop to the cabinet frames beneath, it is handy to have someone help you to apply pressure from above or, alternatively, use a G-clamp to make sure you have a strong connection.
From underneath the work surface, screw a fixing bracket into the cabinet frame such that the bracket sits on the underside of the worktop.
Now screw through the bracket upwards into the work surface. Ensure your screws are not too long or both the cabinets and the worktop will be damaged.
Repeat this process with a new fixing bracket every 30 cm or so, at both the front and the back.
Step Five – Going Around Corners
When fitting a worktop in a simple scenario, these are all the steps that you need to take. Nevertheless, some kitchen designs require you to extend your worktops around a ninety degree turn.
To do this, use a joining strip which ought to be designed by the worktop maker to slip over the end of side of the worktop. Seen in profile, they are H-shaped.
With the H laid on its side, simply cut it to length using a hacksaw. Apply silicone sealant onto the edge the worktop you have in place and push the strip into position, screwing it if necessary according to the design of the joining strip.
When your next worktop has been cut to size, apply more silicone to the front section of the worktop which will face the first one. This section should slip into the other side of the H of the joining strip.
The two worktops should now meet at right angles to one another with the joining strip connecting them almost seamlessly.
Step Six – Dealing with Sinks and Integrated Hobs
To fit anything through a worktop, such as a sink or an integrated hob, you will need to cut a hole large enough to accommodate it.
Most of these items have a large flange, so you don’t need to be 100 per cent accurate with the hole you cut out.
However, it is best to make sure that your hole offers parallel lines at the back and the front, or the item you fit will end up looking wonky.
Check the manufacturer’s recommendations for what dimensions to make your hole before cutting.
A good tip is to drill holes at each corner of your hole, once you have marked it out, which will make using a jigsaw between them much easier. Once holes are cut out, fitting kitchen worktops with them is done in just the same manner as a normal worktop.
Fit the sink or hob only after the worktop has been secured into position.
Hopefully our guide will take the pain out of fitting kitchen worktops and make the job a lot easier for you.
Don’t forget to plan your work before you start. Make sure you have all the tools you need to complete the job and that, preferably, you have someone to help you with the more challenging parts of the process.
Good luck with fitting those kitchen worktops. Let us know in the comments how you get on, we’d love your feedback.