We may be coming to the end of January, but if recent weather reports are to be believed, we could be set for even colder temperatures ahead.
Despite all the warnings and good advice, it would often appear that many of us in the UK get caught out when it comes to snow, ice and freezing temperatures. With this in mind, it’s always a good idea to check how prepared your home is for winter. Whilst it’s tempting to simply take care of those areas of the home which get the most use, such as your living room or bedroom, the kitchen is often the one room that gets neglected.
So, to make sure your kitchen is ready for winter, here at HCSupplies we’ve come up with a simple checklist to ensure your kitchen isn’t left out in the cold when the weather takes a turn for the worse.
Check your heating
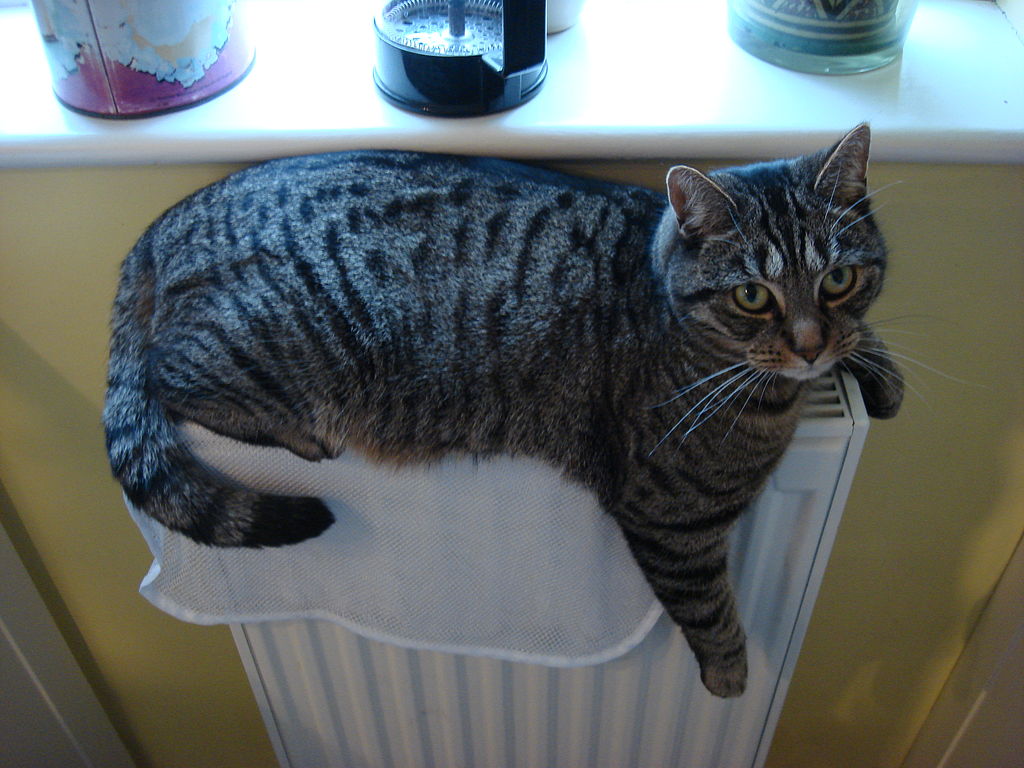
One of the most obvious yet important places to start. However you heat your kitchen, if you have radiators that don’t do their job well or a convection heater that just doesn’t reach those parts that other heaters can reach, you could simply be burning off excessive cash in expensive electricity bills.
Radiators, which are the most common form of kitchen heating, are also one of the easiest to troubleshoot:
Step 1: Turn your central heating on (make sure all your radiators are turned on if they have individual thermostats)
Step 2: After an hour, check your radiators for cold areas (these can normally be found at the top)
Step 3: If you find a cold area, you should bleed your radiator.
How to bleed a radiator:
Step 1: Turn your central heating off (so you don’t end up burning yourself!)
Step 2: Take a radiator valve key and insert into the square-shaped hole on the side of the radiator
Step 3: Turn the key to the right, ensuring you have a cloth or kitchen roll handy to catch any water that may be discharged
Step 4: You should hear a hissing noise as air escapes through the valve
Step 5: Water will begin to trickle out once all the air has cleared from the radiator. Close the valve to the left immediately
Perform this check on the heating in your kitchen, and not only will you get a more consistent performance from your radiators, but you will also save on utility bills, as you’ll no longer need to crank your thermostat up.
Eliminate draughty doors and windows
Much of the heat from your kitchen will escape through small gaps in your windows and doors, so it’s a good idea to check each of these areas for draughts. Sometimes, the effects are obvious: In cold, blustery winter conditions you may notice your blinds swaying, windows rattling or even feel the wind itself.
If this is the case, the obvious thing to do is to replace your windows or doors, but this can of course be costly, and yet another expense on top of that nice new kitchen worktop you’re after! So, what can you do in the meantime, which will be cost efficient, yet save your draughty old kitchen from becoming an ice box? After all, if you want to use your kitchen for entertaining, you certainly don’t want it to feel like a Siberian Gulag!
One quick and easy tip is to seal around your window frame with adhesive foam or metal strips. These can be purchased for next to nothing and could make a genuine impact on the amount of heat you lose from ill-fitting windows. The same goes for your doors.
One important thing to bear in mind when trying to draught proof your kitchen, is that there are points where air is actually meant to escape, such as a ventilation fan or the flue from a gas boiler. Make sure you don’t block these, or the implications could be extremely serious, or at worst, fatal.
Invest in some clever ventilation
As we just touched upon, your kitchen will produce excess amounts of hot air and steam through cooking. This hot air does actually need to escape at some point, or else condensation can build up causing damp, mould or impregnating almost everything with the strong, pungent smell of your food (no matter how much you love a bacon sandwich, you don’t want to smell like it for the rest of the day!). It’s a dilly of a pickle of a problem, but of course there is a solution or two.
One way of approaching this is to invest in an extractor hood or ventilation fan. Most kitchens will feature at least one of these items as a matter of course, but you’d be surprised at how many modern kitchens are still poorly ventilated. Many people rely on opening their windows, or even their back door, to let steam out. This is a very inefficient way of ventilating your kitchen (but it will help prevent the smoke detector going off when you burn your toast!).
Extractor hoods normally have a one-way system which means air is drawn away from kitchen worktops direct to a flue that sends it out of your property. When it’s switched off, air doesn’t escape, keeping the good, warm air in.

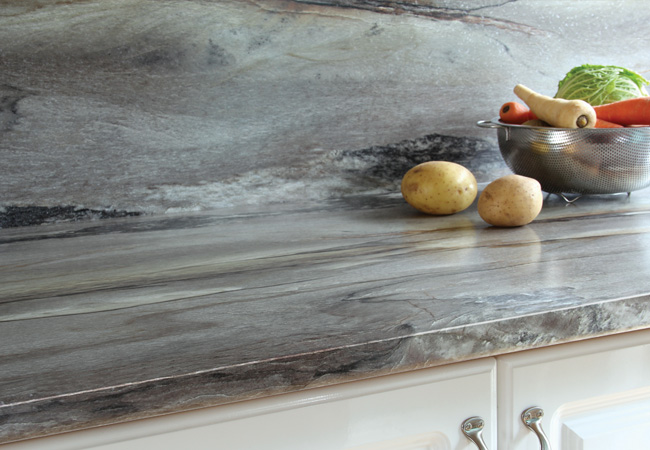
Rearrange your worktop and cupboards
Much like rearranging your wardrobes and putting your swim gear, mini skirts and flip flops in the loft, you can also rearrange your kitchen to work better for you in the winter months.
Kitchen worktops can be cleared of your typical summertime implements, receptacles and utensils, like water jugs or salad tossing bowls, and replaced with mugs for hot drinks, soup-making utensils and casserole dishes.
Prioritise the groceries in your cupboards and bring the more important stuff to the front. If you didn’t use that burger relish at your barbecue 7 long months ago, it might be time to throw it away!
Winter kitchen decor
Of course, making your kitchen winter ready doesn’t just extend to practical considerations. It may be that you fancy a whole new change of scenery during the winter months!
You’ll most likely be spending more time inside, so it pays to make your kitchen feel a lot more comfortable. Some plump cushions, a nice array of seasonal plants and some cheerful accessories all help when it comes to beating those winter blues.
If you want to go one step further, why not create a Scandinavian style kitchen?
For more great kitchen ideas, check out our Help & Ideas section.